A clean fridge is essential for maintaining food freshness and preventing odors. Over time, spills, expired items, and bacteria can accumulate, making deep cleaning a necessity. Follow this step-by-step guide to ensure your fridge stays spotless and hygienic.
Step 1: Gather Your Cleaning Supplies
Before you begin, gather the necessary supplies:
-
Baking soda or mild dish soap
-
White vinegar
-
Warm water
-
Microfiber cloths or sponges
-
A scrub brush or old toothbrush
-
A bucket or spray bottle
-
Trash bags
-
A cooler (for temporary food storage)
-
Essential oils (like lemon or tea tree) for a fresh scent

Step 2: Empty the Fridge
Remove all food items from the fridge. Check expiration dates and discard anything that has gone bad. Store perishable items in a cooler while you clean to keep them fresh.
Step 3: Remove Shelves and Drawers
Take out all removable shelves, drawers, and racks. Let them come to room temperature before washing to prevent cracking.
Step 4: Wash Shelves and Drawers
Fill your sink or a large basin with warm water and a few drops of dish soap or baking soda. Soak the shelves and drawers, then scrub them with a sponge or brush. Rinse thoroughly and allow them to dry completely.
Step 5: Clean the Interior
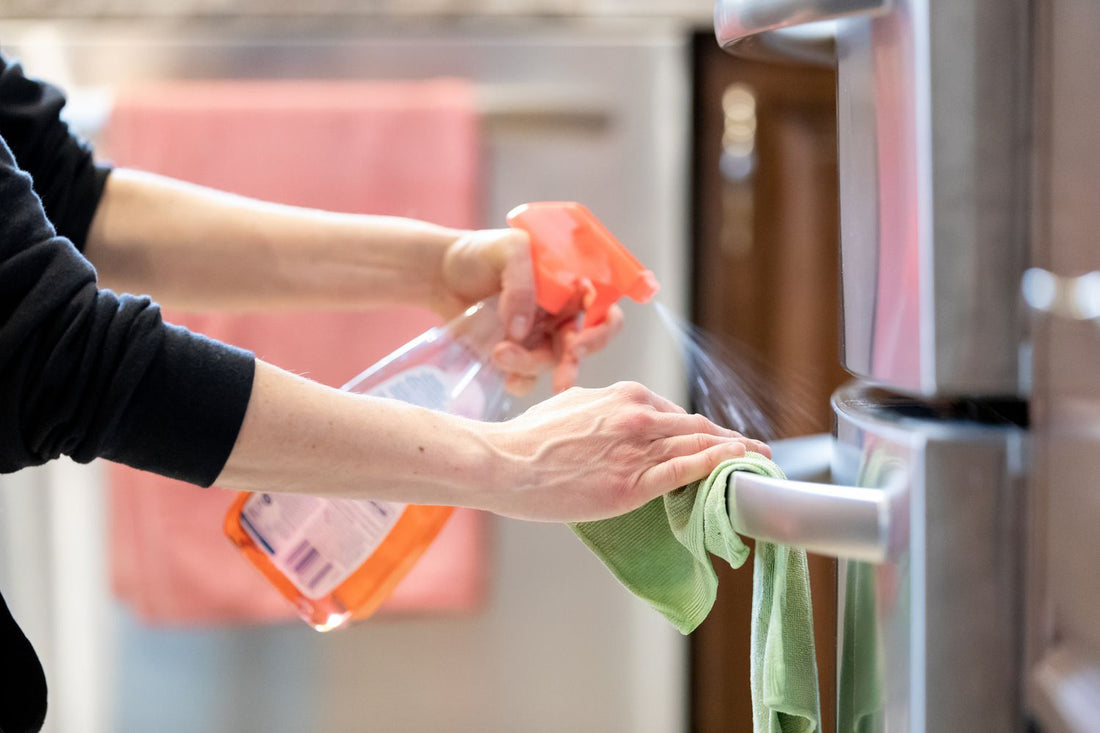
Create a cleaning solution by mixing equal parts white vinegar and warm water in a spray bottle. Spray the interior surfaces, including walls, door seals, and compartments. Let it sit for a few minutes, then wipe down with a microfiber cloth.
For stubborn stains, make a paste with baking soda and a little water. Apply it to stains, let it sit for 10 minutes, then scrub gently with a sponge or toothbrush.
Step 6: Clean the Fridge Door and Gaskets
The rubber door seals (gaskets) often trap crumbs and spills. Wipe them down with the vinegar solution and use a toothbrush to scrub away grime. Ensure they are dry to maintain a proper seal.
Step 7: Wipe Down the Exterior
For a stainless steel fridge, use a mix of vinegar and water or a specialized stainless steel cleaner to remove fingerprints and smudges. For other finishes, a damp cloth with mild soap will do the trick.
Step 8: Deep Clean the Drip Pan and Coils
-
Locate the drip pan (usually behind the kick plate at the bottom of the fridge) and clean it thoroughly to prevent mold and odors.
-
Vacuum or dust off the fridge coils to maintain energy efficiency and keep your fridge running smoothly.
Step 9: Dry and Reassemble
Once all surfaces are clean and dry, place the shelves, drawers, and racks back into the fridge.
Step 10: Organize and Restock
Before putting food back, consider using clear bins or liners to keep items organized and easy to clean. Group similar items together and keep frequently used items within reach.
Bonus Tips for a Fresh Fridge
-
Place an open box of baking soda inside to absorb odors.
-
Add a few drops of essential oils to your cleaning solution for a fresh scent.
-
Wipe spills immediately to prevent buildup.
-
Check expiration dates regularly to avoid clutter and spoilage.
-
Label leftovers with dates to prevent food waste.
-
Deep clean your fridge at least once every three months.
Conclusion: Keep Your Fridge Fresh with SeeyonClean
A deep-cleaned fridge not only keeps your food fresh but also ensures a healthier kitchen environment. At SeeyonClean, we specialize in eco-friendly cleaning services that help maintain a spotless home. Whether you need professional fridge cleaning or a full home deep clean, our team is ready to assist you. Contact us today at (647) 951-2172 or visit seeyonclean.com to book a service and experience the SeeyonClean difference!


